
Henna, also known as Mehndi, is a beautiful and ancient art form that involves applying a paste made from the powdered leaves of the henna plant (Lawsonia inermis) to create delicate designs on the skin. These designs are temporary and typically last one to two weeks. Henna designs are really popular for decorating hands and feet.
These art forms are especially common during festivals, weddings, and other celebrations in many cultures worldwide. Whether you’re preparing for a special occasion or simply want to explore this ancient art form, here is a step-by-step guide on how to create beautiful henna designs on your hands.
Table of Contents
Henna or Mehendi designs are very popular in India. People (especially women) often apply these intricate designs on their hands and feet during special occasions like weddings, festivals, and religious events. It’s a traditional art form that adds a touch of beauty and cultural significance to these celebrations.
Materials Needed for Henna

To get started, you’ll need the following materials:
- Henna Powder: Ensure it’s natural and of high quality (you can buy pre-made cones or make your own).
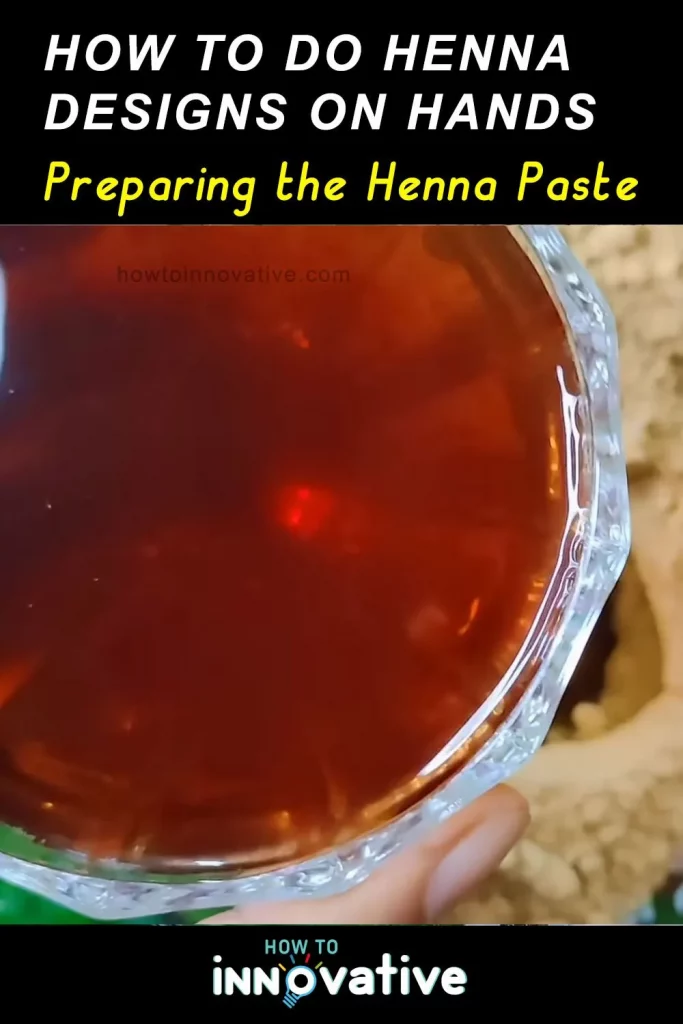
- Lemon Juice & Water (Tea Water): For mixing with henna powder to create a smooth paste and enhance color.
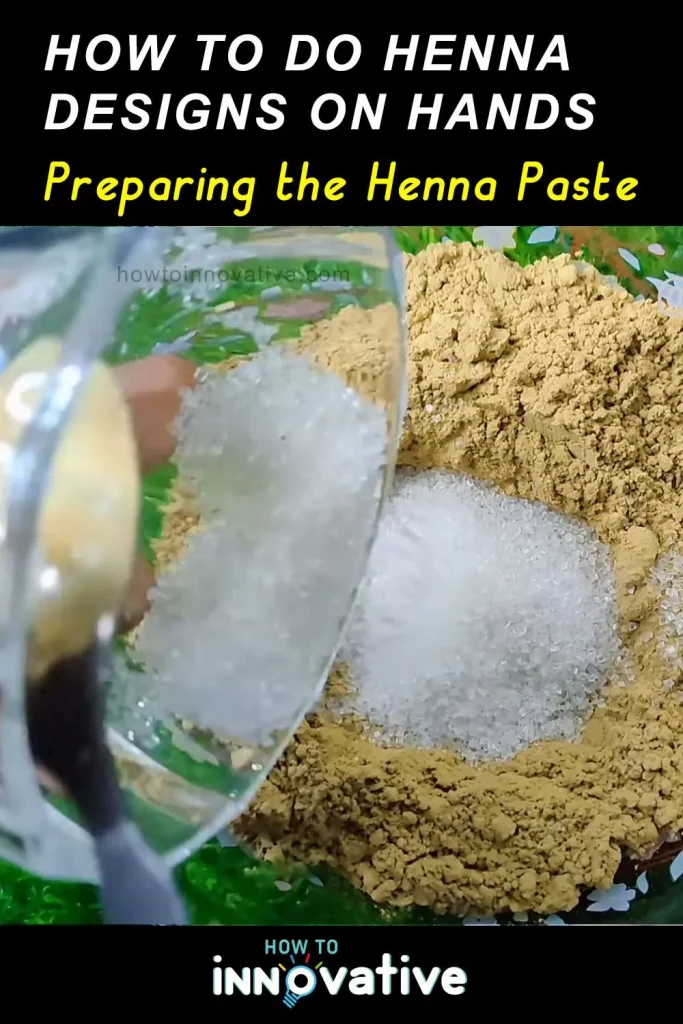
- Sugar: Helps the henna stick to the skin.
- Essential Oils: Such as olive oil or coconut oil or lavender oil, to enhance the color.
- Fine-tipped Plastic Cone or Applicator Bottle: For applying the henna paste.
- Nylon socks (optional): For easy transfer of paste from the bowl to the henna cone.
- Plastic Wrap or Medical Tape: To cover the design and keep it moist.
- Paper Towels or Tissues or Cotton Balls: For cleaning any mistakes.
- Design Template (optional): If you need inspiration or guidance (you can find patterns online or create your own).
- Gloves: (optional)
Step-by-Step Instructions: How to Do Henna Designs on Hands
Step 1: Preparing the Henna Paste
If you are using pre-made henna cones, skip this step.
1. Sift the Henna Powder
To remove any lumps and ensure a smooth paste.
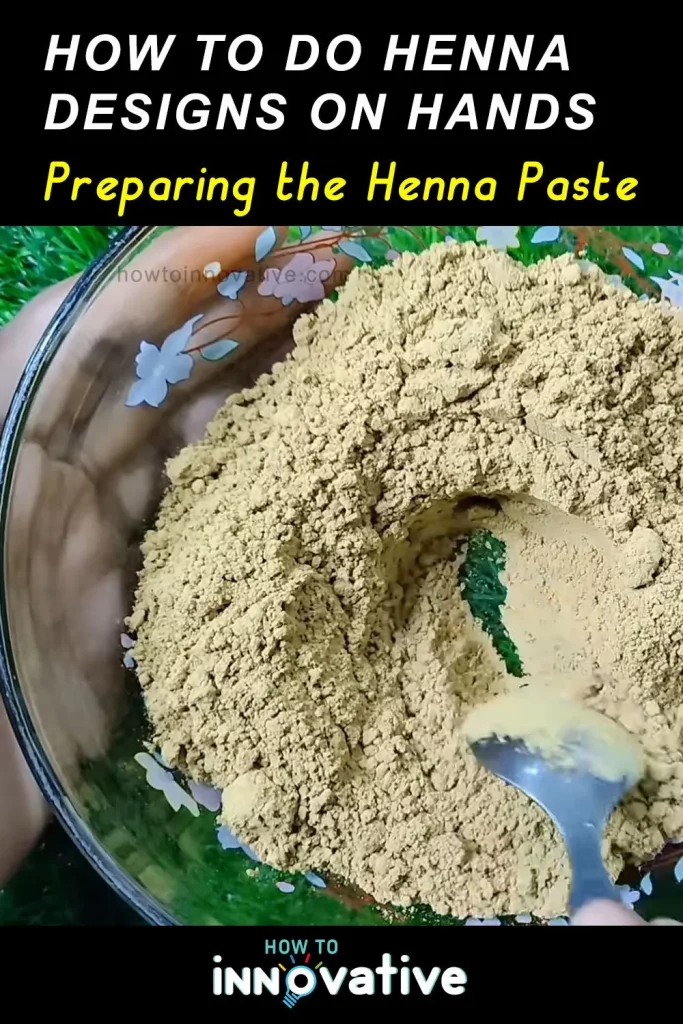
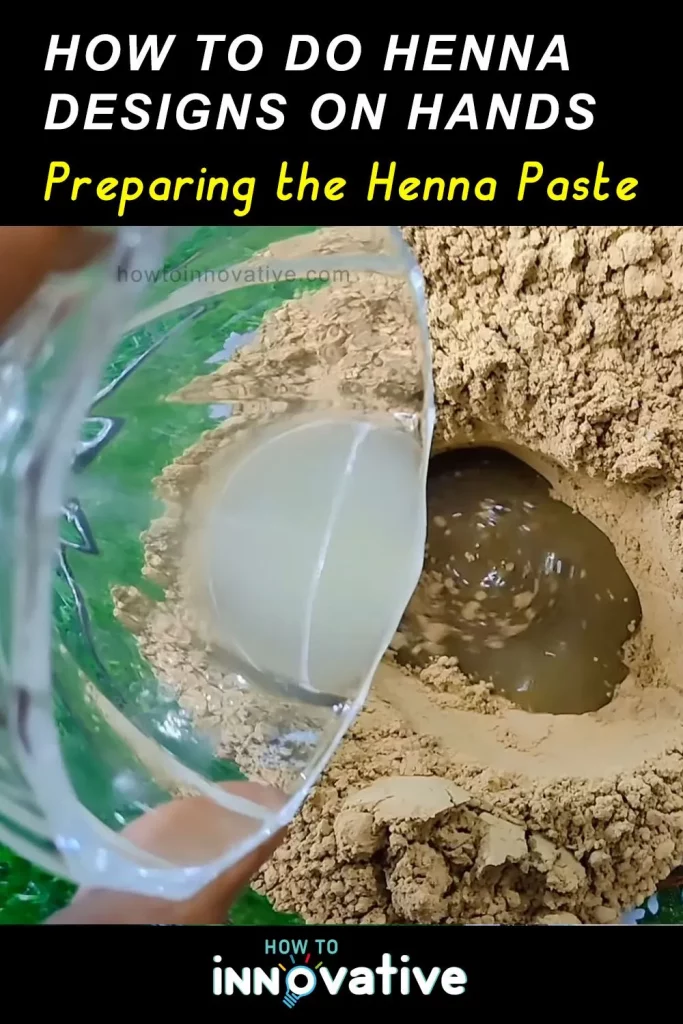
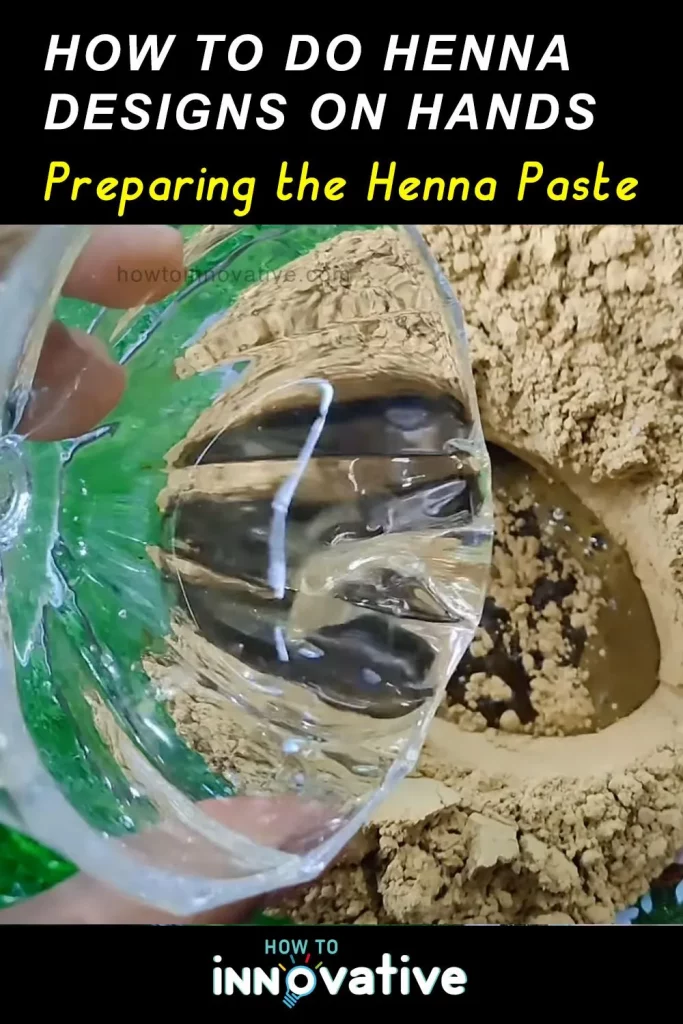
2. Mix the Henna Paste
Mix 2-3 tablespoons of henna powder with lemon juice in a bowl. Then add water or tea water until you get a thick paste. Cover the bowl with plastic wrap and let it sit for 24 hours to allow the dye to release.
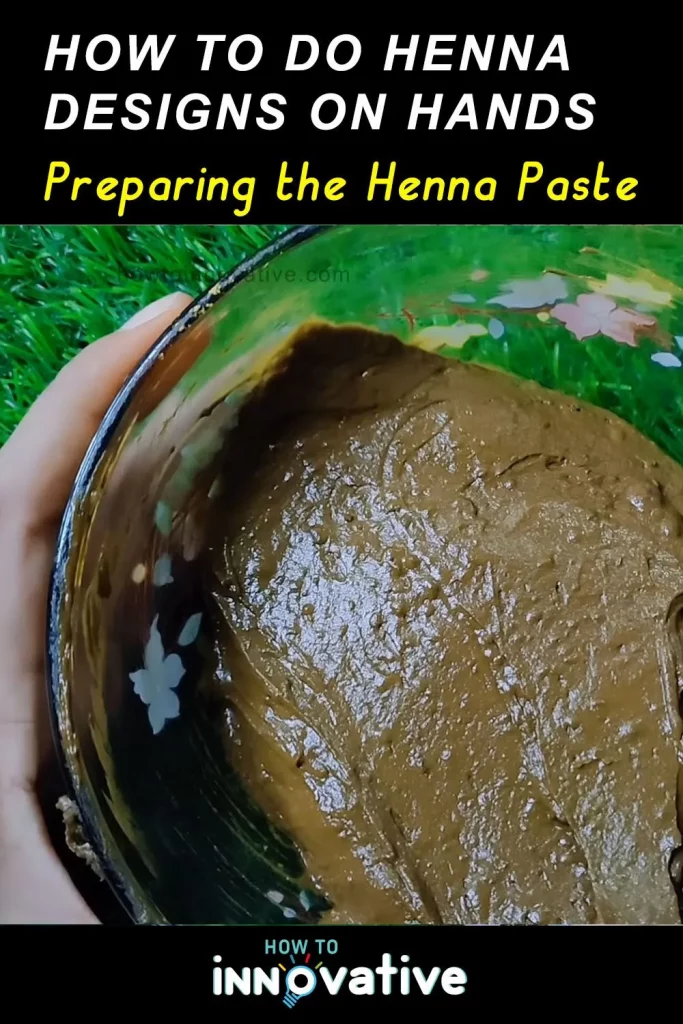
3. Add Sugar and Essential Oils
After 24 hours, add 1 teaspoon of sugar and a few drops of essential oil. Mix thoroughly. The sugar helps the paste adhere better to the skin, and the essential oils improve color development.
4. Adjust Consistency
If the paste is too thick, add a bit more lemon juice. If it’s too runny, add a bit more henna powder. The paste should be smooth and similar to toothpaste in consistency.

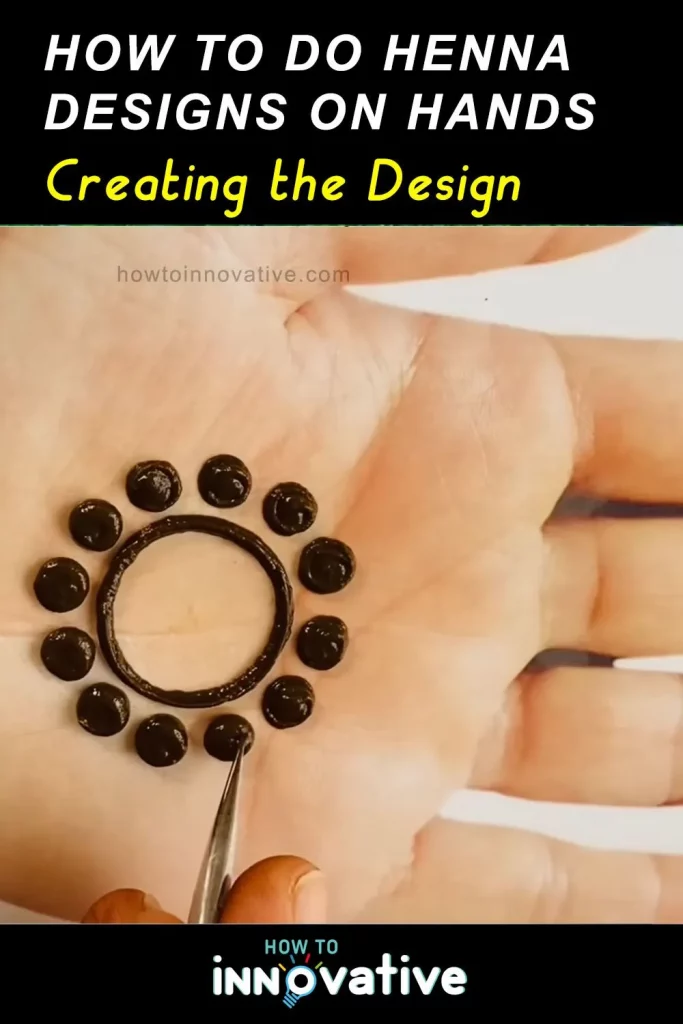
Step 2: Creating the Design
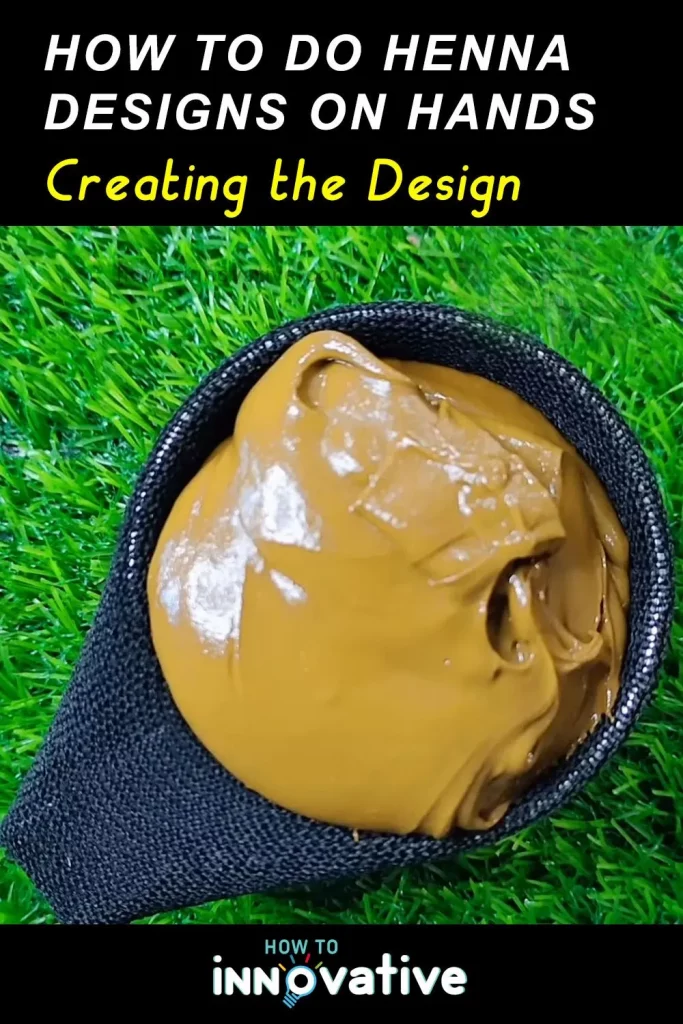
1. Fill the Applicator Cone
Scoop the henna paste into a plastic cone or an applicator bottle with a fine tip. You can use nylon socks to transfer the paste from the bowl to the henna cone. If using a cone, cut a small opening at the tip.


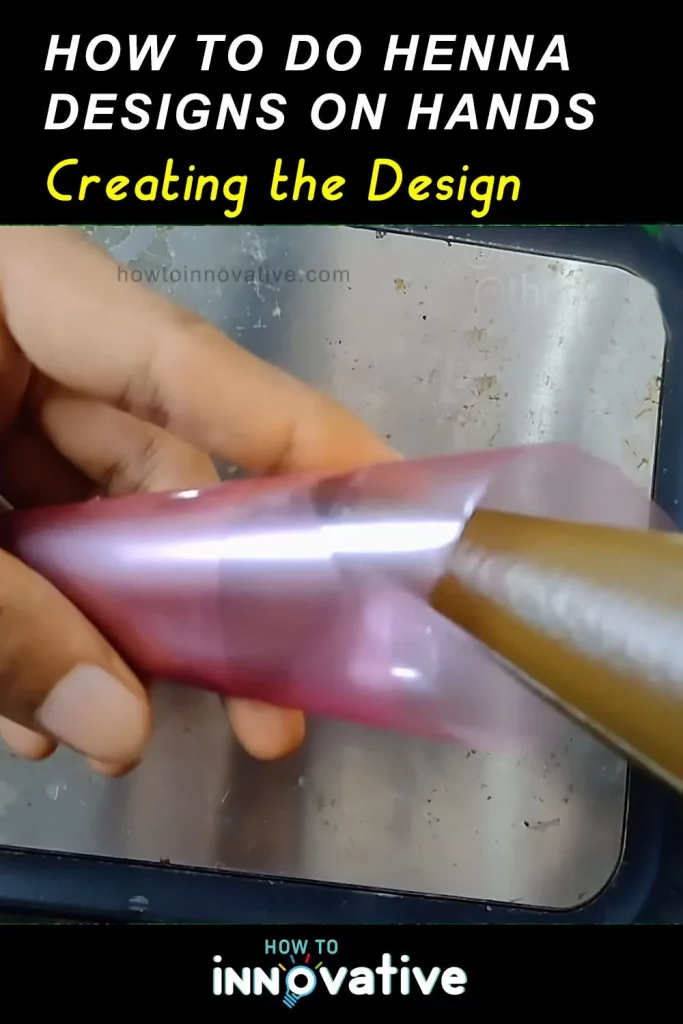

2. Test the Flow
On a piece of paper, test the flow of the paste. You want it to come out smoothly without too much pressure.

3. Clean the Hands
Wash your hands thoroughly to remove any dirt or oil and dry them completely. Avoid using lotion as it can prevent the henna from adhering properly.
4. Apply the Henna
Start with simple designs if you are a beginner. Begin from the center of your palm and work outward. Traditional patterns include flowers, paisleys, vines, and geometric shapes. Steady your hand and apply the henna with consistent pressure. Follow the contours of your hand, creating intricate patterns.
Lines and Dots
Practice making clean lines and even dots.
Shading
For shading, apply thicker lines or more paste in certain areas.
Add Details
Add the delicate design patterns to enhance the design. Remember that henna darkens over time, so keep the design delicate.
Step 3: Aftercare for Long-lasting Stains
1. Let It Dry
Allow the henna to dry completely on your skin for at least 1-2 hours. The longer it stays, the darker the stain will be. Avoid touching it during this time.
2. Seal the Henna
Mix sugar and lemon juice and dab it onto the dried henna design using a cotton ball. This helps to keep the paste moist, intensify the color, and make the design last longer.
3. Wrap the Design
Cover the design with plastic wrap or medical tape to keep it in place and allow it to stay moist. Leave the henna on your hand for at least 4-6 hours (overnight if possible).
4. Scrape off the Paste
Once dry, gently scrape off the dried henna with a tissue or cotton ball.
5. Avoid Water
Avoid washing your hands with water immediately. Refrain from washing the hennaed area for the next 24 hours. The longer you keep it dry, the darker the stain will be.
6. Apply Oil
Apply a natural oil like coconut or olive oil to protect the stain.
Tips for Best Results
- Practice: The more you practice, the better your designs will become. Start with simple designs and gradually move to more complex patterns.
- Experiment: Experiment with different patterns and styles.
- Try on paper first: Practice on paper or practice sheets before applying henna to your hand.
- Patience: Allow the henna to sit for as long as possible for a richer stain.
- Avoid Water: For the first 24 hours after removing the paste, avoid water as much as possible to allow the stain to set properly.
- Moisturize: Apply natural oils regularly to keep the stain vibrant and lasting longer.
- Variations: Explore variations like finger designs, wrist cuffs, or full-hand motifs.
Enjoy Your Beautiful Henna Design
Henna is a beautiful and fun way to express creativity through body art (like Tattoo). Henna or Mehendi designs are temporary but leave a lasting impression. By following these steps and with some practice and creativity you can create beautiful henna designs on your hands that will make you feel beautiful and confident. Enjoy the process, and don’t be afraid to experiment with different patterns and techniques!