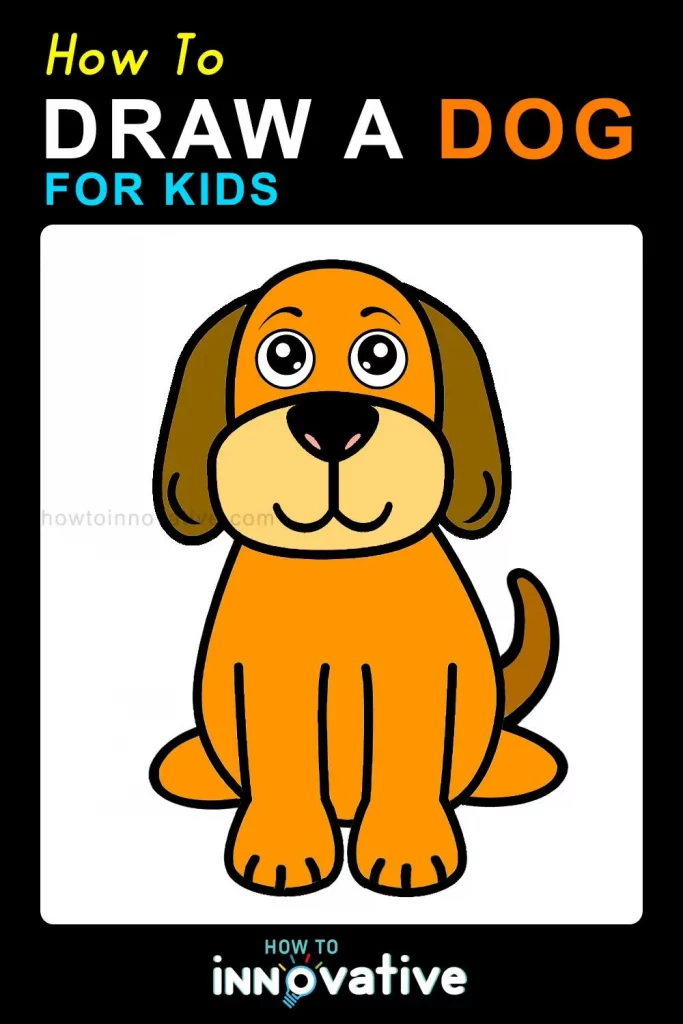
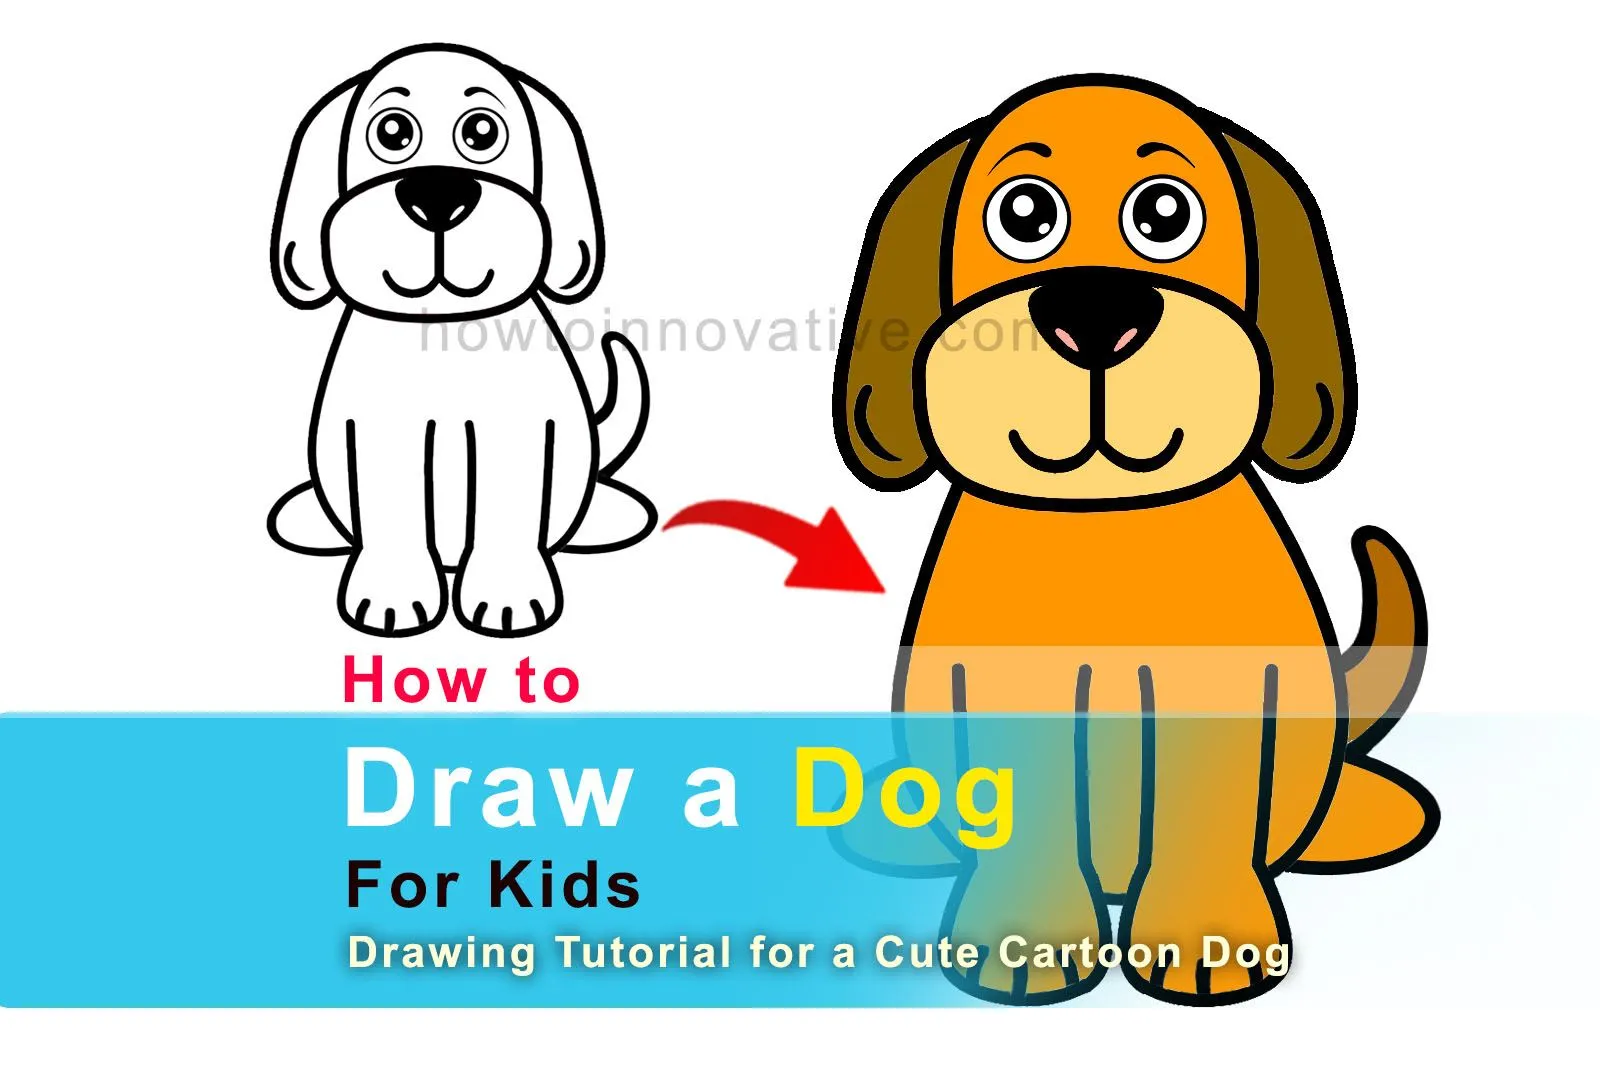
Drawing is a fun and creative activity that anyone can enjoy, especially kids! In this guide, we will learn how to draw a simple and cute dog step-by-step. This info-graphics is ideal for beginners and kids who are eager to enhance their drawing abilities. Let’s dive in and start drawing!
Table of Contents
“Every child is an artist; the problem is staying an artist when you grow up”
– Pablo Picasso
Drawing Tools
- A piece of paper
- A pencil
- An eraser
- Colored pencils, crayons, or markers (optional for coloring)
Step 1: Draw the Head and Snout
- Start by drawing an oval shape with a flat top in the middle of your paper. This will be the head of the dog.
- Add a small vertical line and a horizontal line that intersect in the middle of the circle. These lines will help you place the facial features correctly.
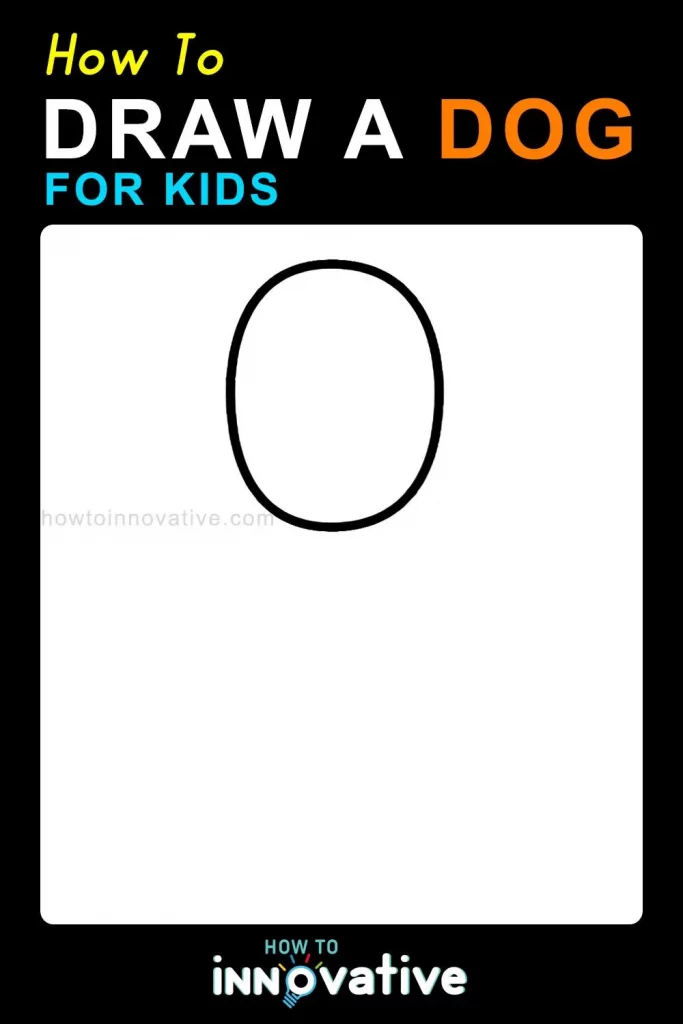
- Next, draw an oval shape across the underside of the head oval shape. You can make it a perfect oval if you want, but it’s totally fine if it looks a little more square or even a little more rounded. Either way, this shape will represent the snout.
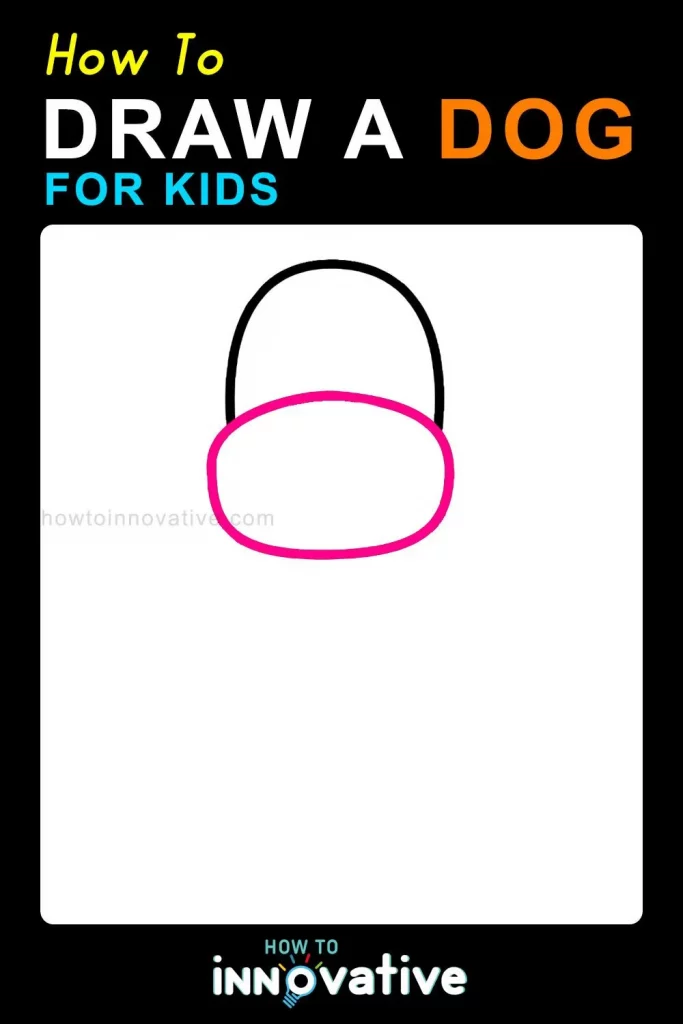
Step 2: Add the Ears
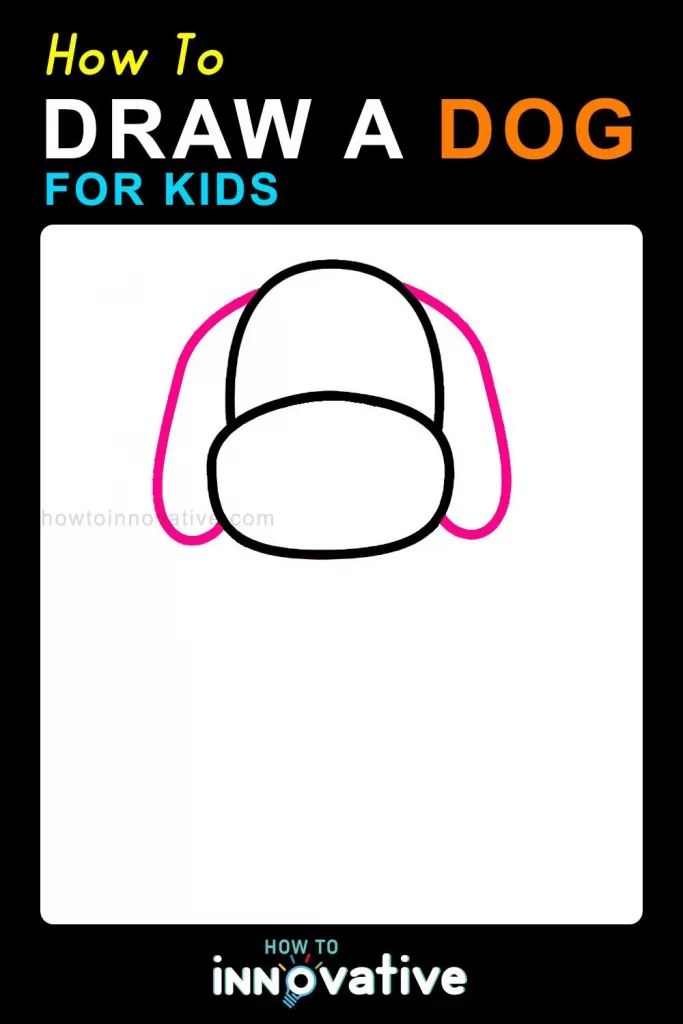
- On each side of the circle (head), draw two floppy, U-shaped lines that descend from the top of the head and end just below the muzzle. These will be the dog’s ears.
- Make sure both ears are symmetrical. You can make them slightly curved or pointy, depending on the type of dog you want to draw.
Step 3: Draw the Face
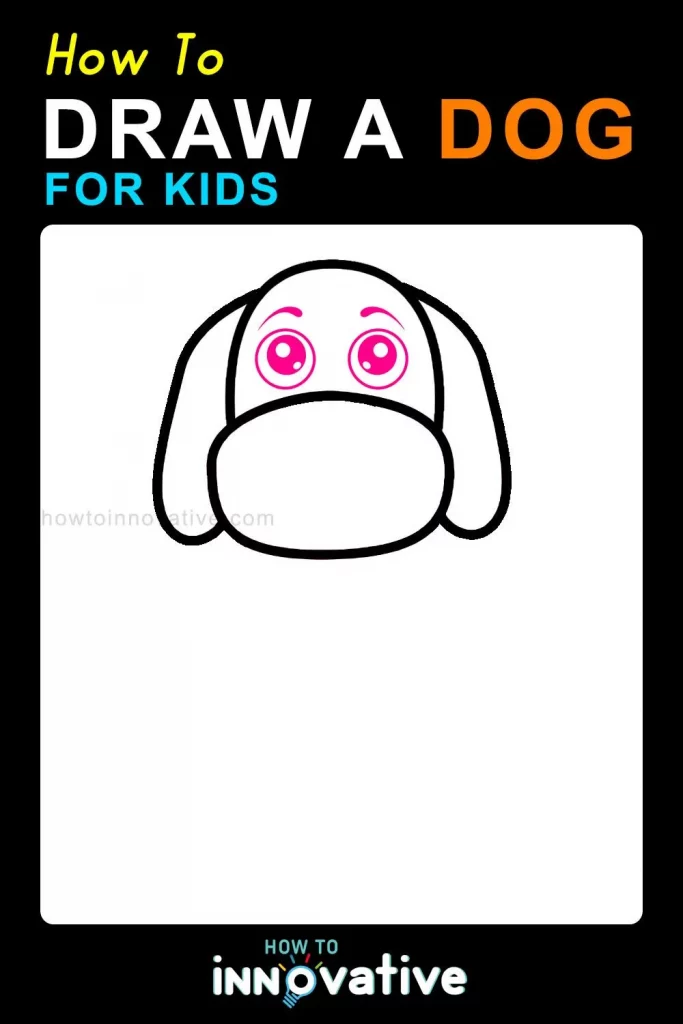
- Inside the circle(oval shape), draw two large oval shapes for the eyes. Place them on either side of the vertical line and just above the horizontal line.
- Inside each oval, draw a smaller circle for the pupils. Add a tiny dot inside each pupil to give the eyes a shiny look.
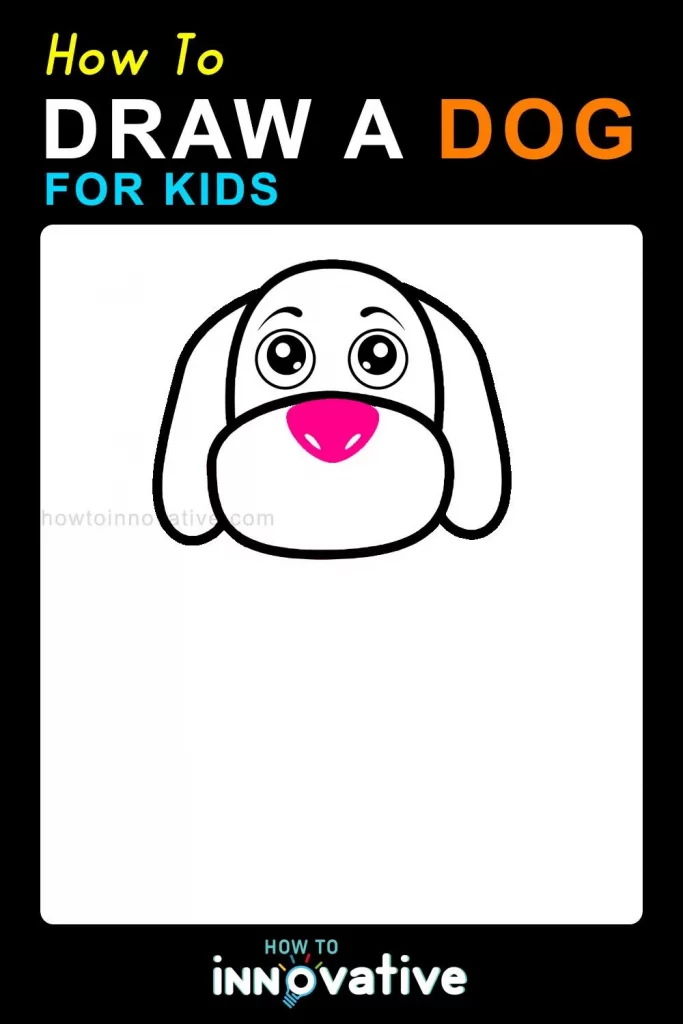
- Just below the horizontal line (Upward inside the snout) and at the center, draw a small oval (slightly triangular shape) for the nose.
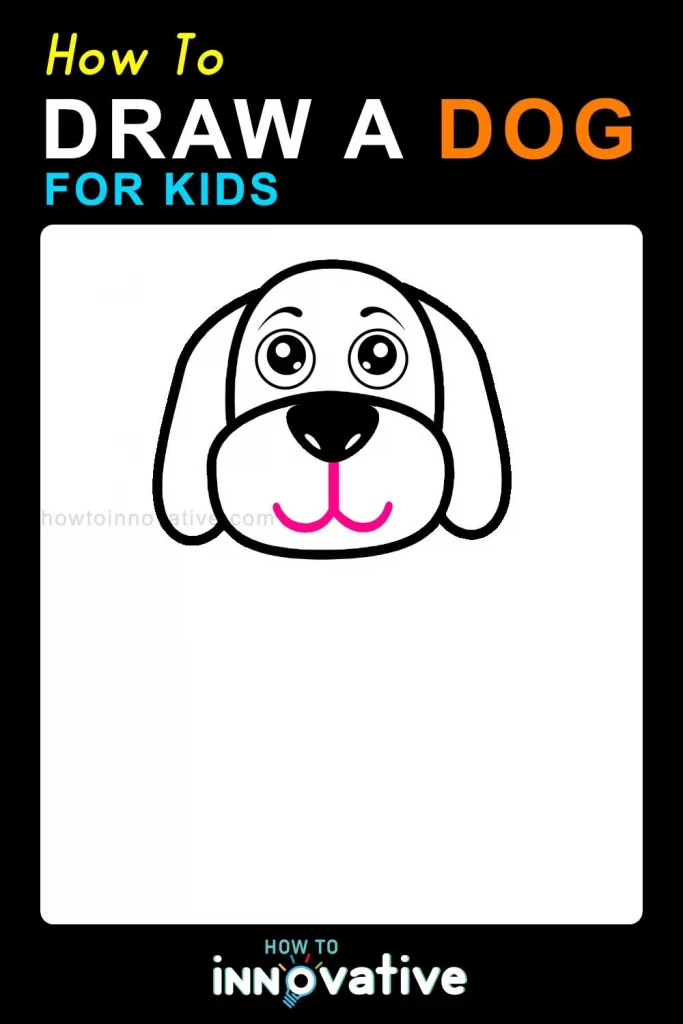
- From the bottom of the nose, draw a short vertical line. Then, draw a curved line on each side to form the mouth. Make the mouth look like a stretched-out “W” shape.
Step 4: Draw the Body
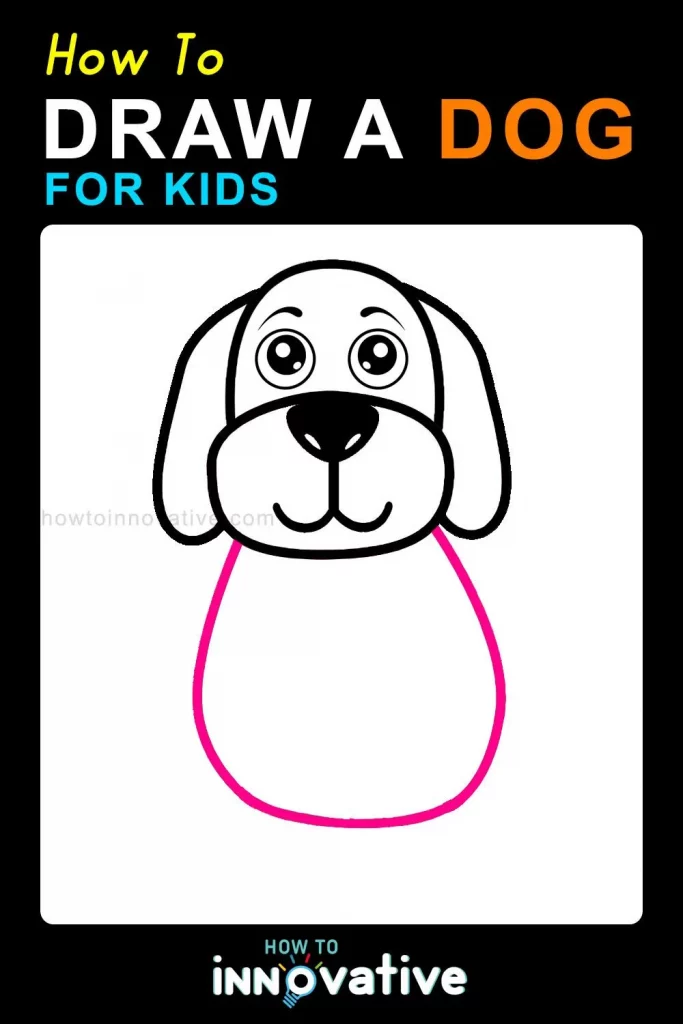
- Below the head, draw a large oval shape for the body. The bottom of the oval should be wider than the top.
- Connect the head to the body with two short lines on each side, forming the neck.
Step 5: Add the Legs
- At the bottom of the body, draw two oval shapes for the back legs on either side.
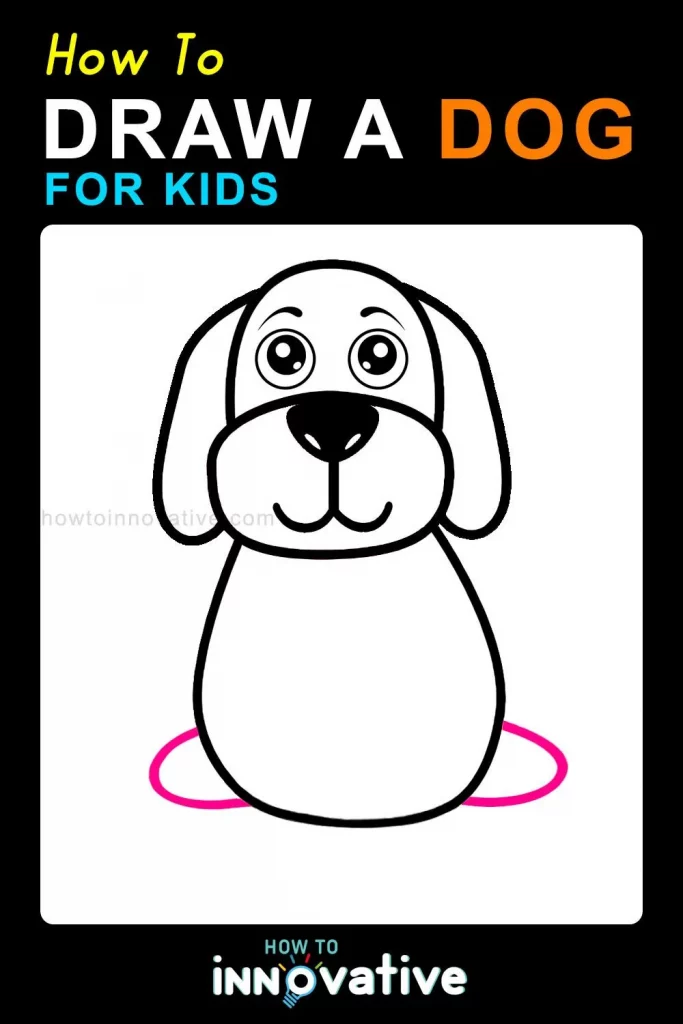
- Now draw two rectangular shapes on the front of the body from the middle to the bottom of the body shape, with the upper side being empty and the lower side being a little triangular oval shape for the paws. These shapes will be the front legs.
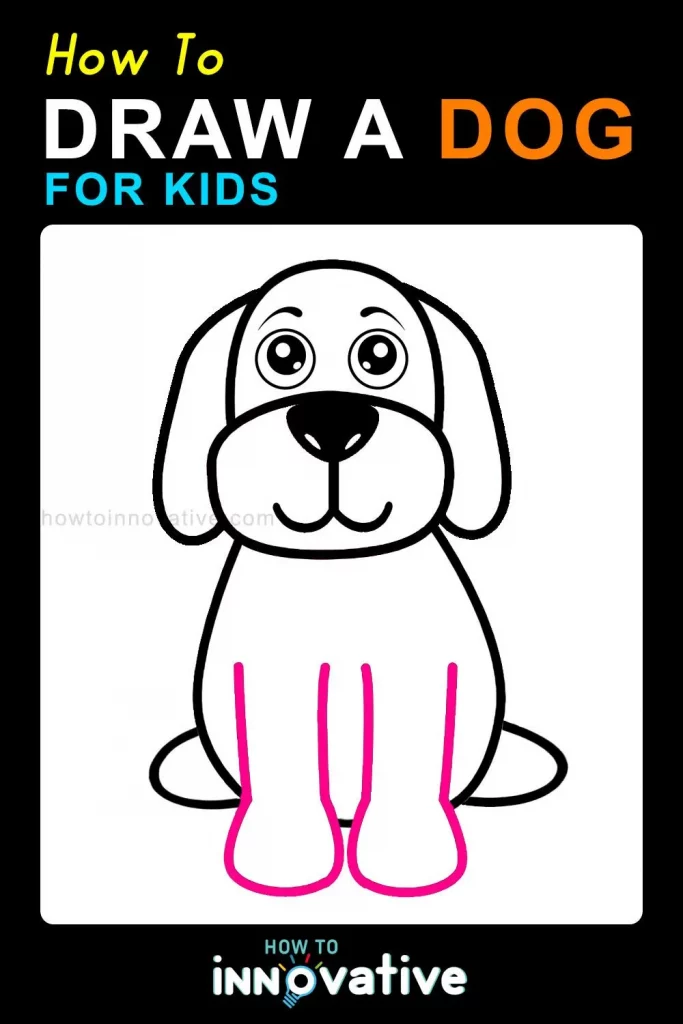
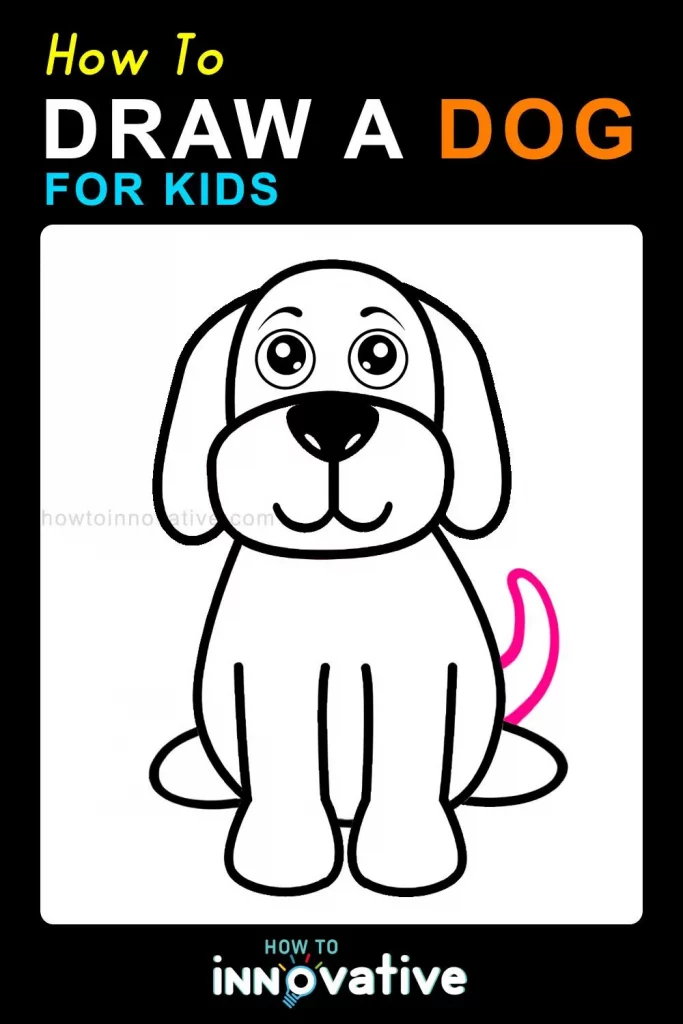
Step 6: Draw the Dog Tail
- On the backside of the body and the top of the back leg, draw a curved line that extends outward and then curves back toward the body. This will be the tail.
- Make the tail slightly thicker at the base and narrower at the tip.
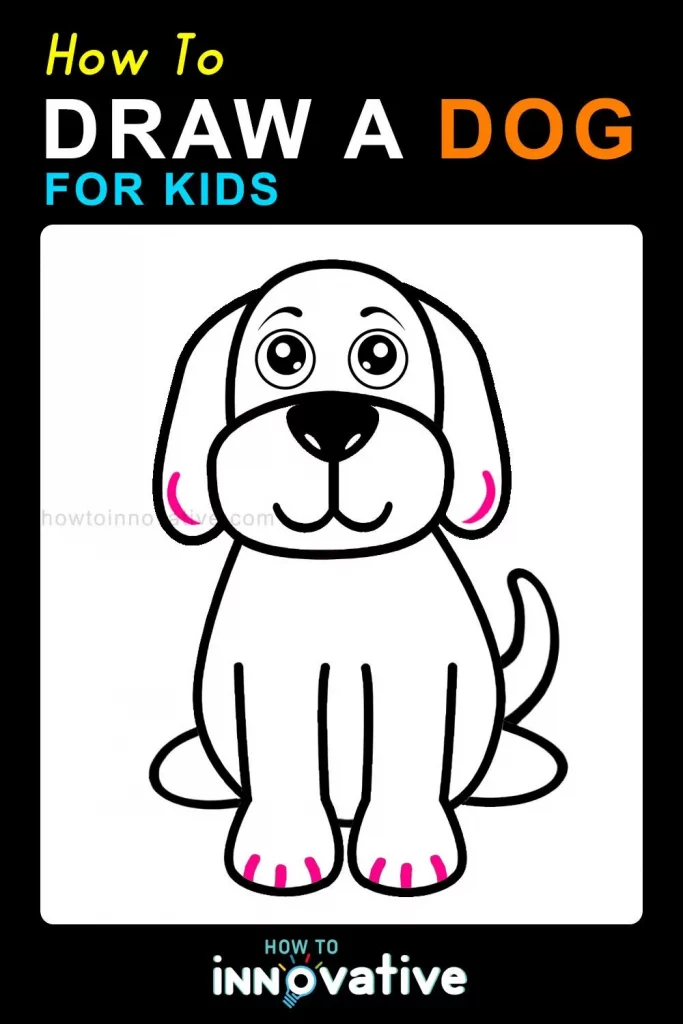
Step 7: Add Details
- Inside the ears, draw a smaller U-shaped line to add detail to the ears.
- Add some lines on the paws to represent the toes.
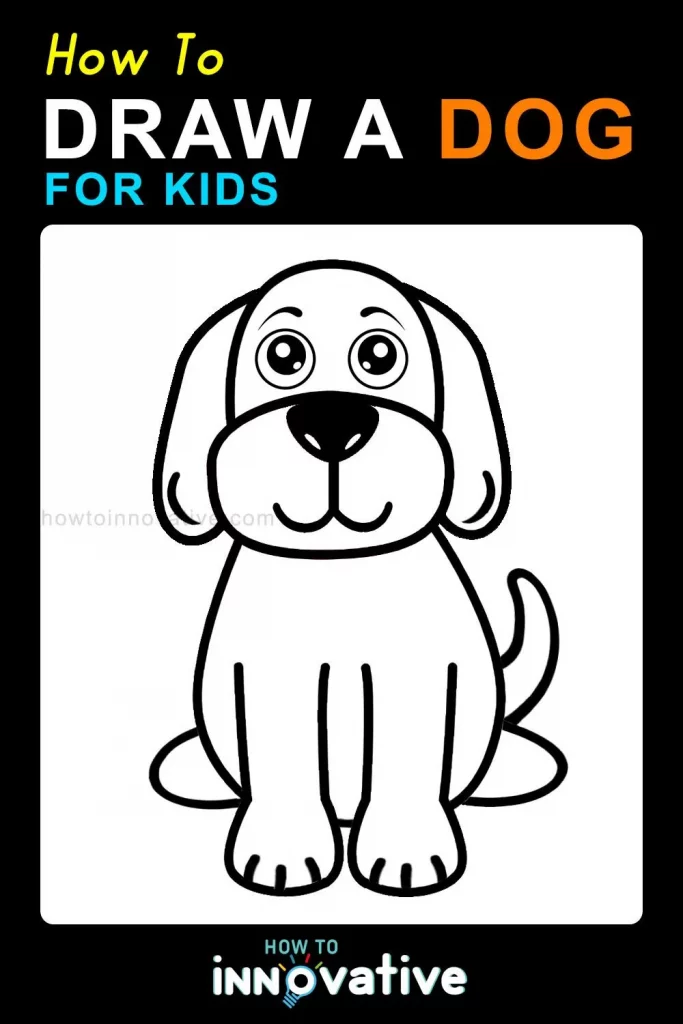
Step 8: Finalize the Drawing
- Go over your drawing with a darker pencil or a black marker to outline the dog.
- Erase any unnecessary lines or guidelines to clean up your drawing.
Step 9: Color Your Dog
- Use colored pencils, crayons, or markers to color your dog. Use your favorite colors to bring your dog to life. For example, you can make the dog brown, black, white, or even spotted!
- Add some shading or extra details like a collar or spots to make your drawing unique.
Extra Tips for How to Draw a Dog
- Take your time with each step and don’t rush.
- If you make a mistake, use your eraser and try again.
- Practice drawing different types of dogs using this guide as a base.
By using these easy steps, you can draw a cute dog. Just keep practicing regularly, and soon you’ll be able to draw dogs and other animals with ease.



Attractive section of content. I simply stumbled upon your blog and in accession capital
to say that I acquire actually enjoyed account your blog posts.
Anyway I will be subscribing for your feeds and even I success you get right of entry to constantly quickly.