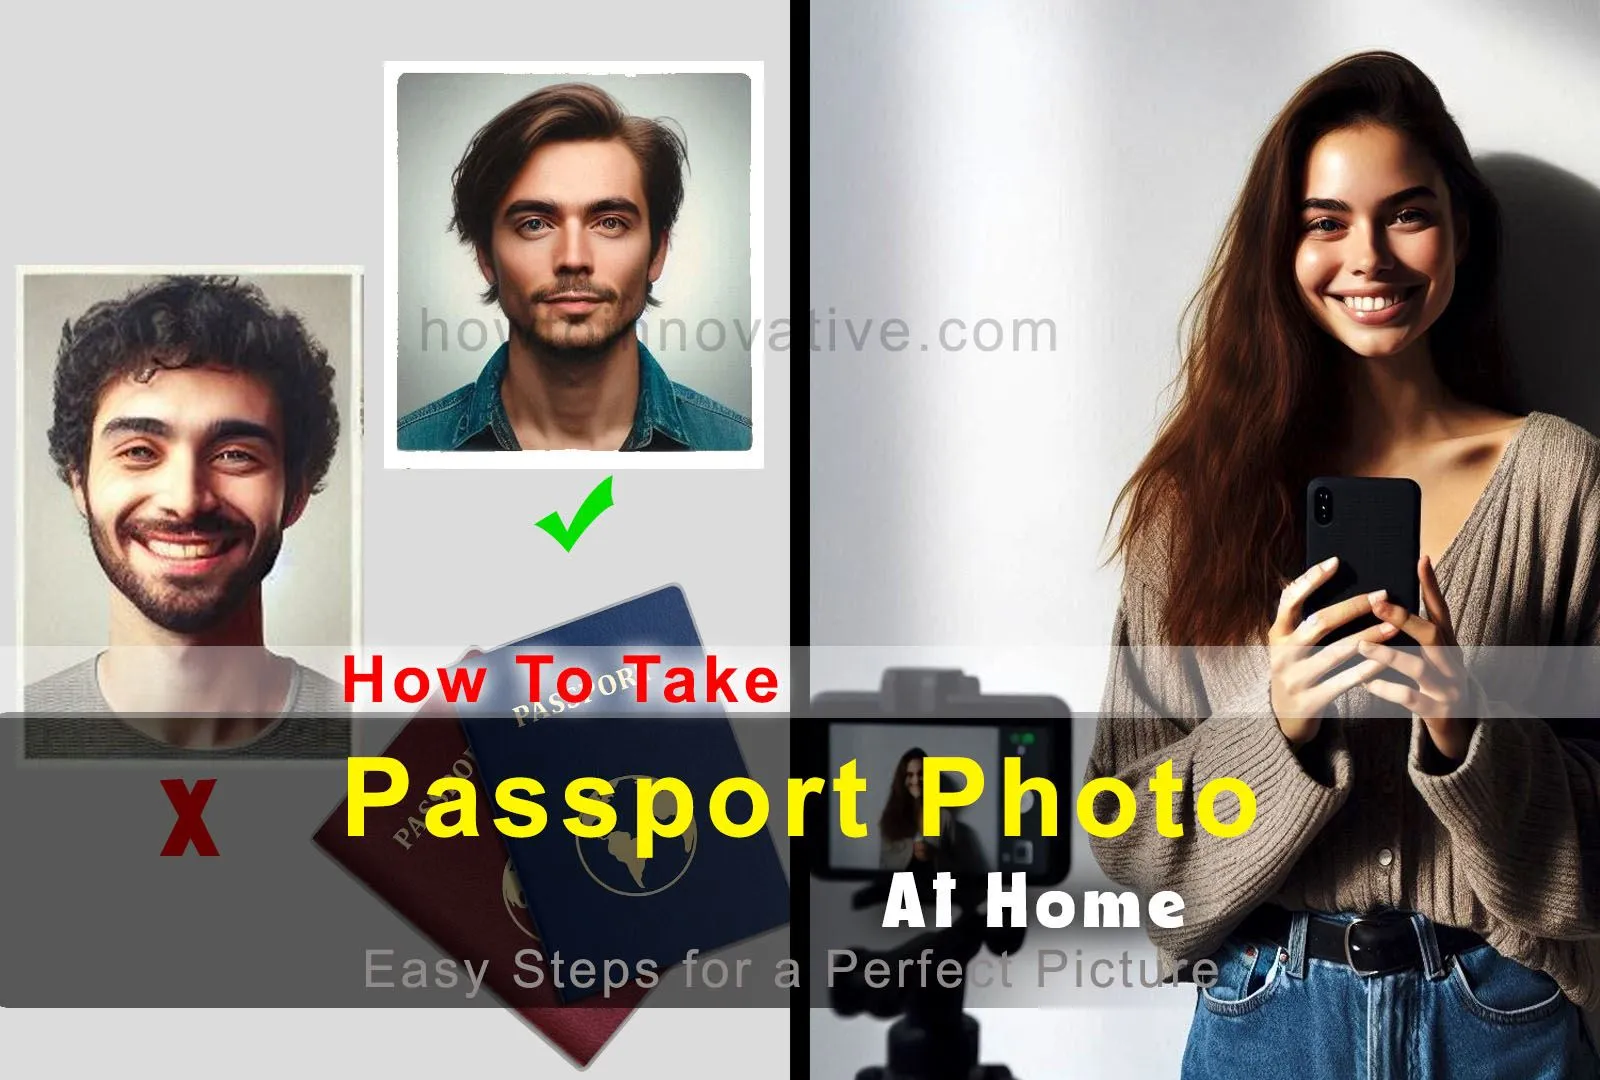
As a mobile snapper, you might be wondering how to take passport photo at home without the hassle of visiting a professional studio. With a few simple steps and the right equipment, you can take a professional-looking passport photo from the comfort of your own home. It is not as difficult as it seems and you can save time and money. Let’s dive into the nitty-gritty of capturing that perfect passport shot.
Table of Contents
There are a few challenges you may face when taking professional-grade passport photos at home
Taking a passport photo at home can be a hassle. You need to find a place, make sure it is open, have adequate lighting conditions, and gather some important equipment like tripod.
What can happen when you go to a photo studio to shoot your passport photo?
Imagine the disappointment when you go to a photo studio and it is closed or the photo taken is not suitable for the passport. Or worse, if you have to retake the photo because of a small mistake!
How to Take Passport Photo at Home?
The good thing is that you can take a passport photo at home that meets all the official requirements. Follow these steps, and you will have a perfect passport photo without any hassle
Step 1: Gather the Necessary Equipment
To take a passport photo at home, you’ll need a few basic items:
- Digital Camera or Smartphone: Any camera with good resolution will do. Most smartphones have excellent cameras.
- Tripod or a Steady Surface: To keep the camera stable.
- Off White Background: A white or off-white wall works best. You can use a drawing sheet, a piece of paper, or even a white cloth.
- Good Lighting: Natural light is ideal, but a couple of lamps (Ring light) can work too.
- A timer or a camera with a self-timer
- A mirror
- A ruler or a straightedge
- A pen or a pencil
Step 2: Prepare Your Background
For a passport photo, you need a plain Off white background. You can use a sheet, a piece of paper, or even a white wall. Make sure the background is clean and free of any distractions. If you’re using a drawing sheet or paper, you can tape it to the wall or place it on a table. If you’re using a white wall, make sure it’s clean and free of any marks or stains.

Step 3: Setup the lights
Ensure even lighting to avoid shadows on your face. Stand facing a window for natural light or place lamps (Ring light) on both sides.
Step 4: Dress Appropriately
Wear normal, everyday clothes (light color). Avoid uniforms or anything with busy patterns. Keep your hair neat and off your face. If you wear glasses, go ahead, but make sure they’re not tinted or reflective.
Step 5: Positioning
- Camera Position: The camera should be at eye level, about 4 feet away. Set the camera or mobile on a tripod or a sturdy stand.
- Position Yourself: Stand in front of the background facing the camera. Make sure you’re at a 90-degree angle to the camera, with your face directly in the center. You should be standing about 3-4 feet away from the camera.
- Framing: Your head should be centered and occupy 50-70% of the photo. That means, keep your head, shoulders, and upper body visible. Make sure there’s enough space around your head and shoulders. No need to evoke your inner supermodel – a natural expression will do just fine.
Step 6: Set Up Your Camera
If you’re using a digital camera, set it to the highest resolution and the highest quality setting. If you’re using a smartphone, make sure the camera app is set to the highest resolution and quality setting. If your camera has a self-timer, set it to 10 seconds to ensure you’re in the frame. Some other settings you can consider:
- Use the lowest ISO you can: Set your camera’s sensitivity to the lowest setting possible for the lighting conditions. This reduces noise in the photo, keeping it clear and without grainy dots.
- Use a smaller aperture: When you shoot with a lens that’s wide open, it can make the background blurry and parts of the subject’s head might not be in focus. To avoid this, use a smaller aperture (higher f-number) to keep everything sharp.
- Use a faster shutter speed: Ensure your shutter speed is fast enough to prevent any blur from the camera or subject movement.
- Use a tripod and shutter release button: For extra clarity, use a tripod and a shutter release to keep the camera steady. This helps avoid camera shake and makes your photos more consistent.
Step 7: Taking the Photo
Look directly at the camera and keep a neutral expression. No smiles or frowns—just a relaxed face. Stand up straight with your eyes open and mouth closed. Avoid looking down or up, as this can distort your facial features.
Use the timer or self-timer to ensure you’re in the frame. If you’re using a mirror, use it to check your position and make any necessary adjustments.
Step 8: Check Your Photo
Once you’ve taken the photo, check it to ensure it meets the passport photo requirements. The photo should be:
- 2×2 inches in size
- In proper color
- With a neutral background
- With your face directly in the center
- With your eyes open and looking directly at the camera
- With a natural smile (neutral expression)
What Size is a Passport Photo?
A U.S. passport photo needs to be 2 inches by 2 inches. The person’s head in the photo should be between 1 and 1.4 inches tall, measured from the top of the head to the chin. It’s easiest to get the size and position right using an app or website, but you can also use a photo editing app that shows measurements in inches or pixels. When printing, remember that 1 inch equals 300 pixels and 1.4 inches equals 420 pixels.
Step 9: Edit Your Photo
Transfer the photo to your computer or phone. If you’re not satisfied with your photo, you can edit it using photo editing software. Make sure to save the edited photo as a high-resolution (300 DPI) JPEG file.
- Cropping: Crop the photo so it’s the right size (2 x 2 inches).
- Brightness and Contrast: Adjust if needed to ensure your face is clearly visible.
- No Filters: Keep the photo as natural as possible.

Step 10: Print Your Photo
Once you’re satisfied with your photo, print it out on high-quality photo paper. Make sure the photo is 2×2 inches in size and has a white border around it. If applying online (like Walgreens passport photo), follow the guidelines provided by your passport agency.
Important Tips
- Double-check the passport photo guidelines for your country before starting.
- Take several shots to choose the best one.
- Ask a friend or family member to help if needed.
Conclusion
Taking a passport photo at home is simple and convenient. By following the steps above, you’ll ensure that your photo meets all the necessary requirements and looks professional. Remember to use a digital camera or smartphone, a white background, and a timer or self-timer to get the best results. So next time you need a passport photo, skip the trip to the studio and do it yourself at home.